Nail Colors and How To Do Them
This season is a time to go all out, whether that means wearing a sparkle shirt, throwing on your cutest heels, or drawing an extra special design on your nails.
While Christmas nails (and holiday nails in general) seem pretty straightforward, there’s actually a ton of designs and variations.
Base and Top Coats
Whether you’re using gel or regular nail polish, a base coat and top coat are both really important. They’ll determine not only how long your manicure lasts, but how shiny it is.
As far as gel polish, I really like Gellish: I find that it lasts way longer than other polish brands. If you’re looking for info on how to do a gel manicure at home for super cheap (while making sure it lasts for a while), check out my blog post here to see exactly what I use.
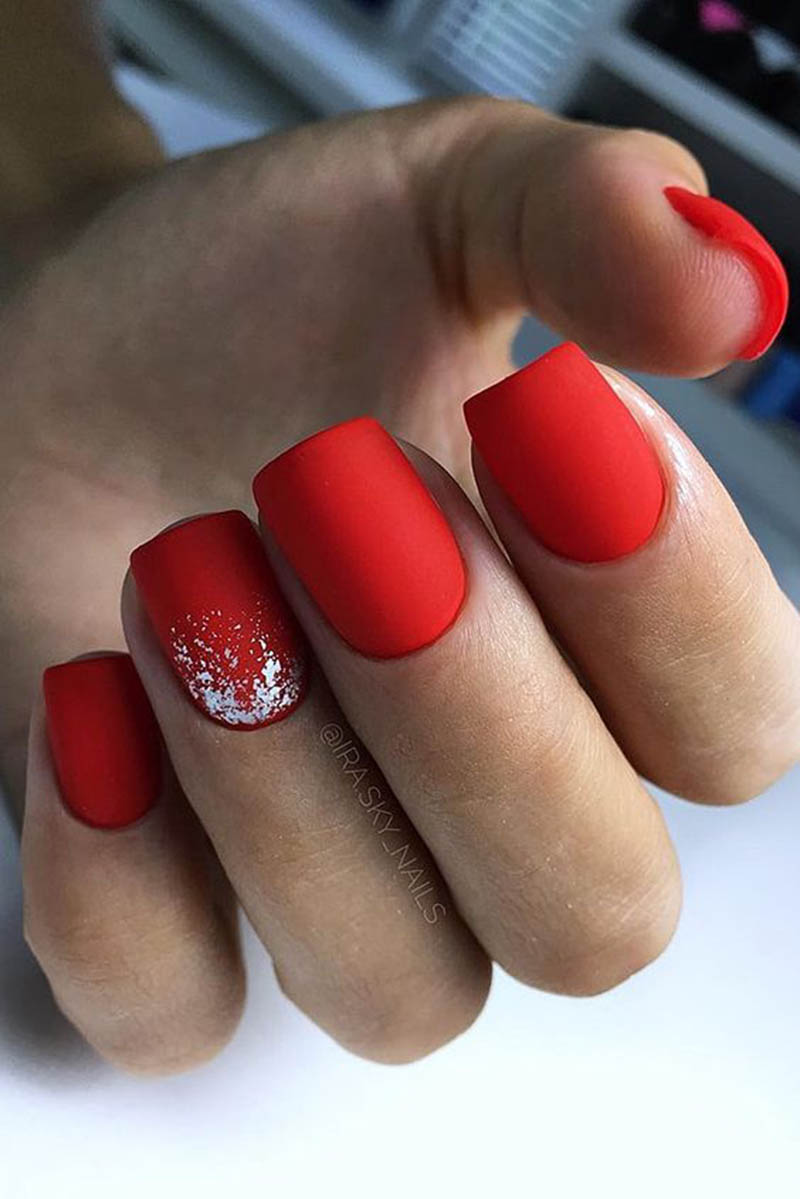
Sparkly Nails
Many of the nail inspo photos below include some sparkle on top of the regular color. They’re surprisingly easy to do!
I generally do a base coat, 2-3 coats of the regular color, and then add the sparkle on.
If the design calls for a lot of sparkle, then feel free to layer it on thick, otherwise you’ll want to make sure there’s barely any sparkle on the brush in order to get the design you want.
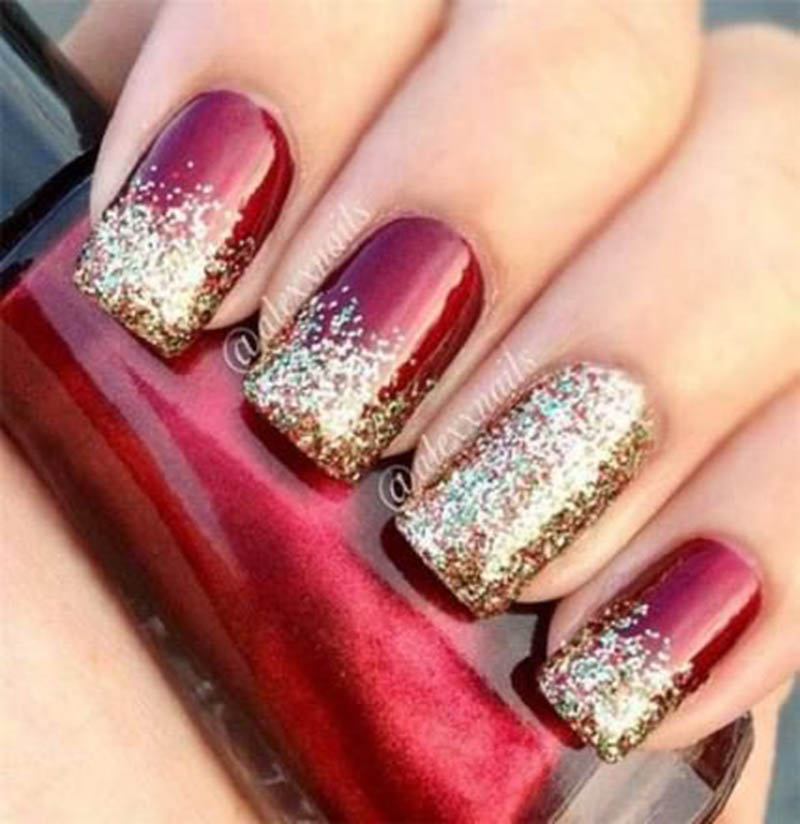
I recommend purchasing a gel sparkle if you’re doing gel nails or a regular sparkle polish for Essie, Olay, etc. I’ve included all of the options under each photo below.
Sparkle nails are actually super easy to do once you get the hang of it! Think of the sparkle as another layer just before the top coat. The hardest part is applying the right amount of sparkle, but if you go overboard, you can easily wipe a bit of the sparkle off (especially with gel nails).
Make sure to apply a top coat after your sparkle to seal everything in.
How to Draw Plaid And Lines
Plaid and striped nails are really popular this year, but luckily they aren’t that difficult to execute.
Firstly, you’ll need to make sure you have all of the necessary colors to create the design. Secondly, you’ll need a good nail art brush (I use these).
You’ll first do your base coat, then add one stripes using this brush to create each layer. Make sure to let the layer dry before adding another (or using a gel lamp – this way is a lot quicker) so that the colors don’t blend.
You may need to use the brush to blend the plaid nails together since the stripes will be thicker. Plaid nails are a little tougher than striped but are still doable with just a little practice!
Finish with a top coat and enjoy your plaid or striped nails!
I recommend trying out your design on a plain nail then removing it before actually doing your nails all the way. I also recommend doing gel if possible, because you dry each coat completely, so you can wipe off the top coat without ruining the entire design.